Welcome to our comprehensive guide on installing your own roof using an easy-to-handle material. If you’re a DIY enthusiast and looking to save money on roofing installation, you’ve come to the right place. In this article, we’ll provide you with step-by-step instructions, tips, and tricks to help you successfully complete your roofing project. Whether you’re a beginner or a seasoned DIYer, this guide will equip you with all the knowledge you need to tackle the task confidently. Say goodbye to hefty contractor fees and let’s get started!
Why Choose an Easy-to-Handle Material?
Before diving into the installation process, let’s understand why opting for an easy-to-handle material is a wise decision. Not only does it make the installation process smoother and more efficient, but it also enhances safety and reduces the risk of accidents. Easy-to-handle materials are usually lightweight, allowing you to maneuver them easily without requiring additional manpower or heavy machinery. Additionally, these materials are designed to fit seamlessly, ensuring a tight and secure roof that can withstand various weather conditions.
Step 1: Preparing for the Roofing Project
Before you begin installing your new roof, proper preparation is key. Here are the essential steps to get started:
1.1. Safety First
Safety should always be your top priority. Make sure you have the necessary safety equipment, such as gloves, goggles, and a sturdy ladder. Clear the area around your house from any obstacles and ensure a safe working environment.
1.2. Assessing the Old Roof
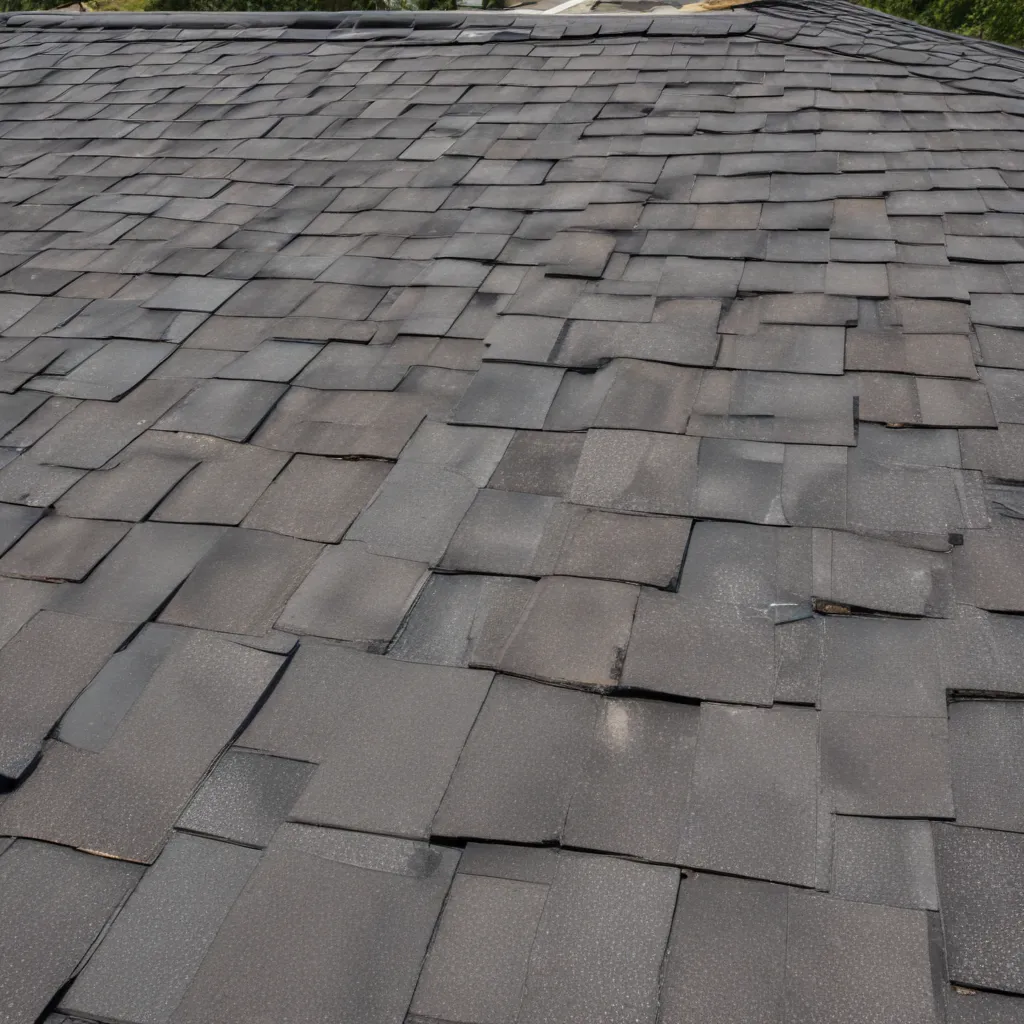
Inspect your existing roof for any damage or issues that need to be addressed before installation. Check for leaks, missing shingles, or rotting wood. It’s crucial to fix these problems beforehand to ensure a solid foundation for your new roof.
1.3. Gathering the Tools and Materials
To successfully complete the installation, gather all the required tools and materials. Some common items you’ll need include a hammer, utility knife, roofing nails, roof adhesive, measuring tape, and the easy-to-handle roofing material of your choice.
Step 2: Removing the Old Roof
Now that you’ve prepared the groundwork, it’s time to remove the old roof. Follow these steps carefully:
2.1. Safety Measures
Before starting the removal process, take necessary safety precautions. Wear appropriate protective gear and ensure a stable footing on the roof. If you’re uncomfortable with heights or unsure about your abilities, it’s best to hire a professional.
2.2. Removing Shingles and Underlayment
Start by removing the shingles using a roofing shovel or pry bar. Work in small sections and be cautious not to damage the underlying structure. Once the shingles are removed, carefully take out the underlayment, exposing the roof deck.
2.3. Inspecting the Roof Deck
Inspect the roof deck for any signs of damage, rot, or mold. Replace any compromised sections to ensure a solid foundation for your new roof. This step is crucial for the longevity and durability of your installation.
Step 3: Installing the Easy-to-Handle Roofing Material
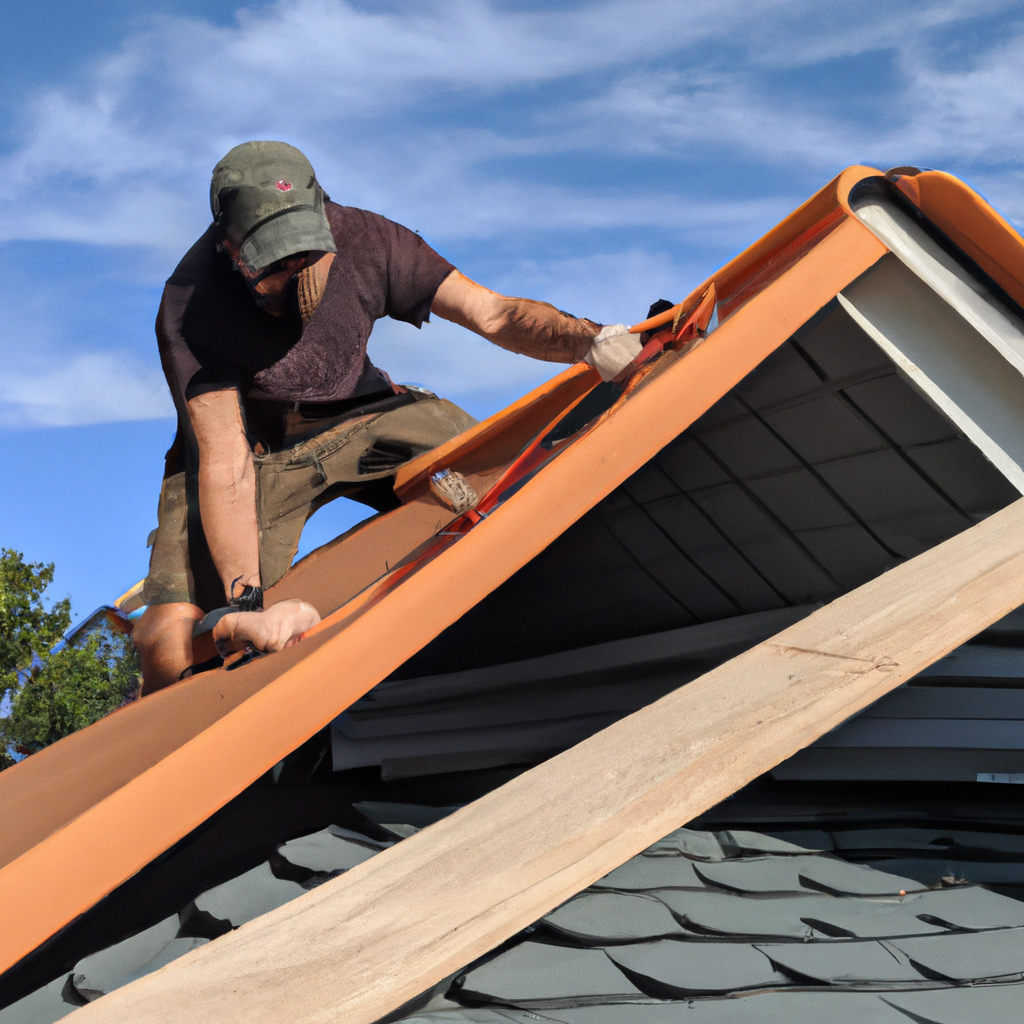
Now comes the exciting part – installing the easy-to-handle roofing material. Follow these steps to achieve a professional-looking result:
3.1. Measuring and Cutting
Measure the dimensions of your roof and cut the roofing material accordingly. Make precise cuts using a utility knife or specialized roofing cutter. Double-check your measurements to avoid any wastage or inaccuracies.
3.2. Applying Adhesive and Placing the Material
Apply roof adhesive to the roof deck using a trowel or a recommended applicator. Carefully place the roofing material on the adhesive, ensuring proper alignment and smooth coverage. Follow the manufacturer’s guidelines for the adhesive application process.
3.3. Securing the Material
Secure the roofing material in place using roofing nails or staples. Pay attention to the recommended spacing and placement provided by the manufacturer. This step will ensure a secure and long-lasting installation.
Conclusion
Congratulations on successfully installing your own roof with an easy-to-handle material! By following our step-by-step guide, you’ve saved money on contractor fees and achieved a professional result. Remember, proper preparation, safety measures, and attention to detail are crucial throughout the process. We hope this comprehensive guide has empowered you to take on future DIY projects with confidence. Happy roofing!


