At some point in every homeowner’s life, the need for roof repairs arises. Whether it’s due to aging, severe weather conditions, or other factors, maintaining a sturdy and leak-free roof is crucial to protecting your home. While hiring a professional roofing contractor is often the best option, some minor repairs can be handled by homeowners themselves. However, before embarking on any DIY roof repair project, it’s essential to prioritize safety. In this comprehensive guide, we will provide you with an essential DIY roof repair safety checklist to ensure you can successfully and safely complete your roofing project.
1. Assessing the Situation
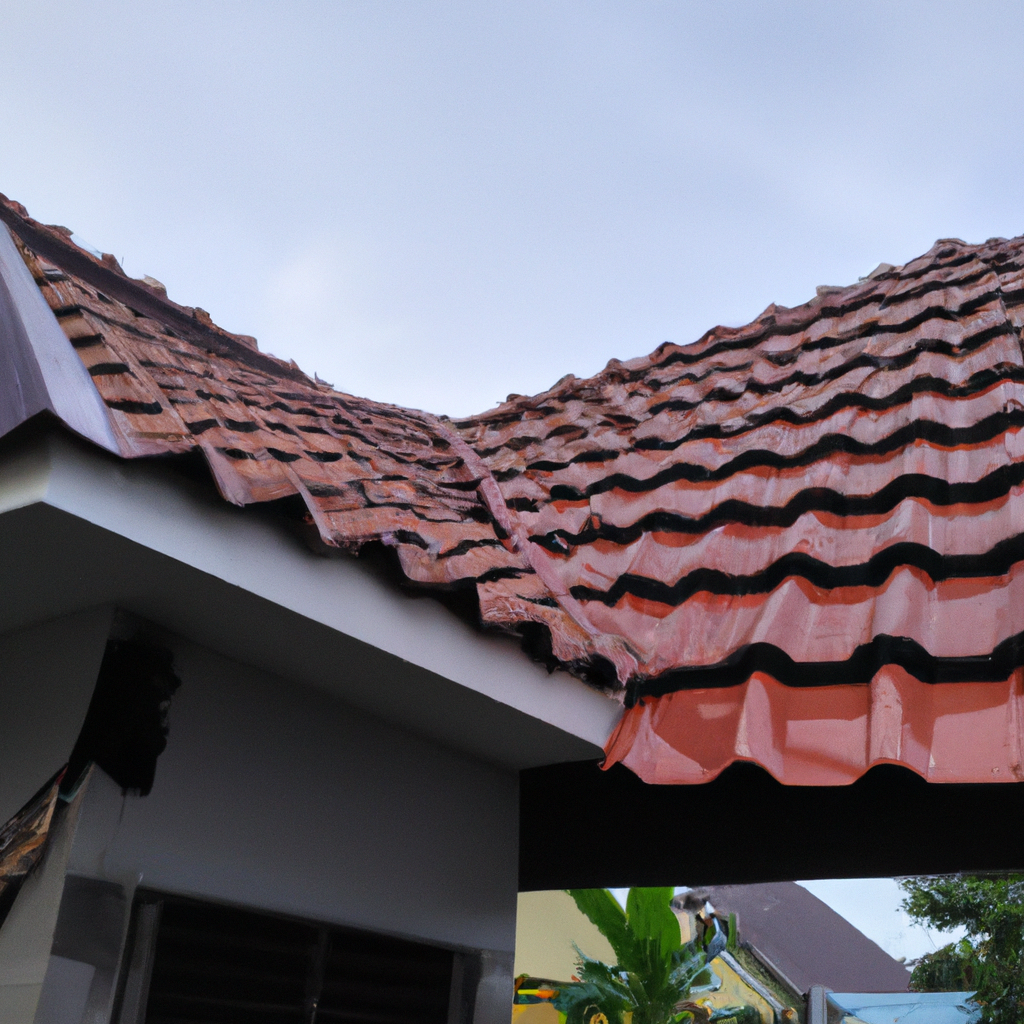
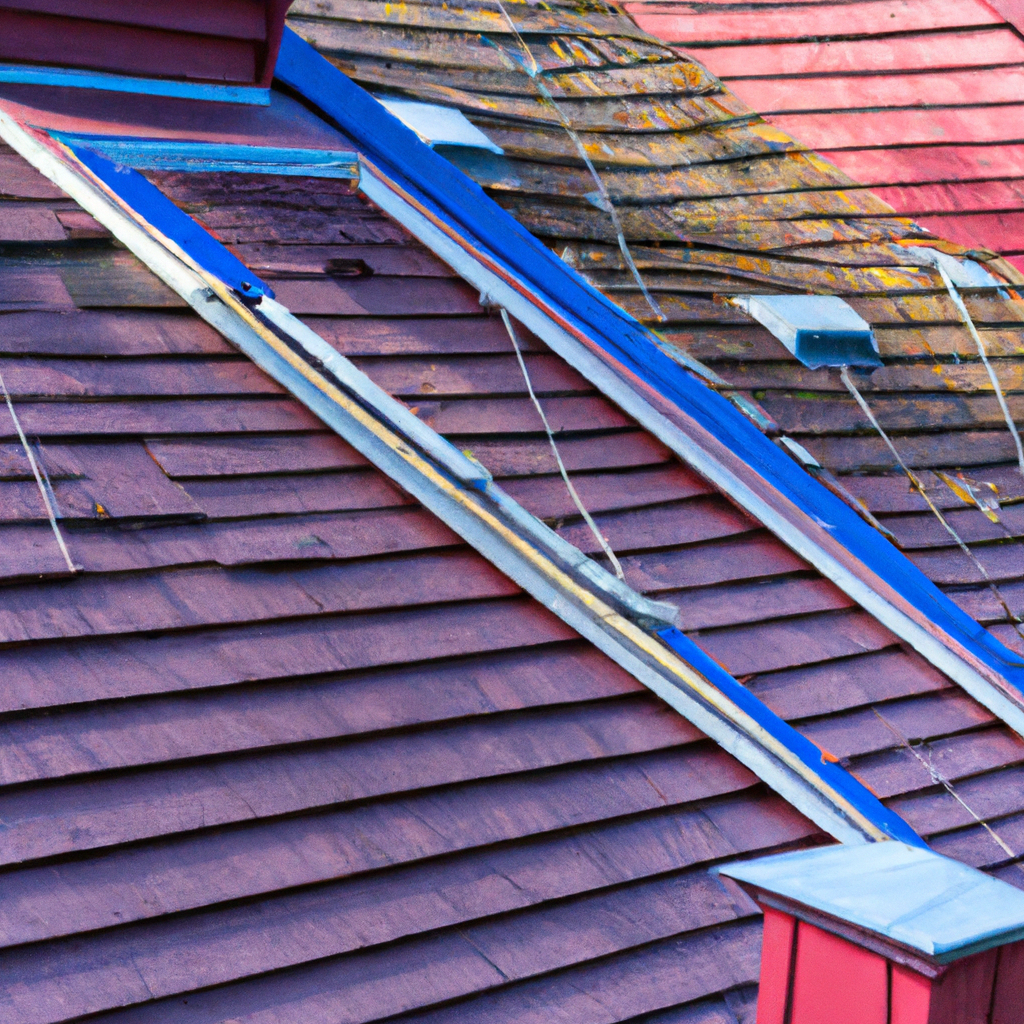
Before you even consider DIY roof repairs, it’s crucial to assess the situation. Inspect your roof thoroughly for any signs of damage, such as missing or damaged shingles, leaks, or sagging areas. Identifying the extent of the damage will help you determine whether it’s a repair you can handle on your own or if it requires professional assistance.
2. Gathering the Necessary Tools and Materials
Once you have assessed the situation and decided to proceed with the DIY roof repair, gather all the necessary tools and materials. Some essential items you may need include:
- Safety goggles and gloves
- Ladder
- Hammer
- Roofing nails
- Shingles
- Roofing adhesive or sealant
- Pry bar or crowbar
- Roofing felt
- Roofing cement
Ensuring you have all the required tools and materials before starting the repair will save you time and prevent unnecessary trips to the store.
3. Prioritizing Safety Measures
Before you climb up onto your roof, it’s crucial to prioritize safety measures. Here are some important safety precautions to follow:
a. Use Proper Safety Equipment
Always wear safety goggles and gloves to protect your eyes and hands from any potential hazards. Additionally, consider using a safety harness or roof anchors to prevent falls.
b. Check the Weather Conditions
Avoid working on your roof during adverse weather conditions such as rain, strong winds, or extreme temperatures. Slippery surfaces or gusty winds can increase the risk of accidents and injuries.
c. Secure the Ladder
Ensure your ladder is stable and securely positioned before climbing up. Use ladder stabilizers or have someone hold the ladder to provide extra stability and prevent falls.
d. Be Mindful of Electrical Hazards
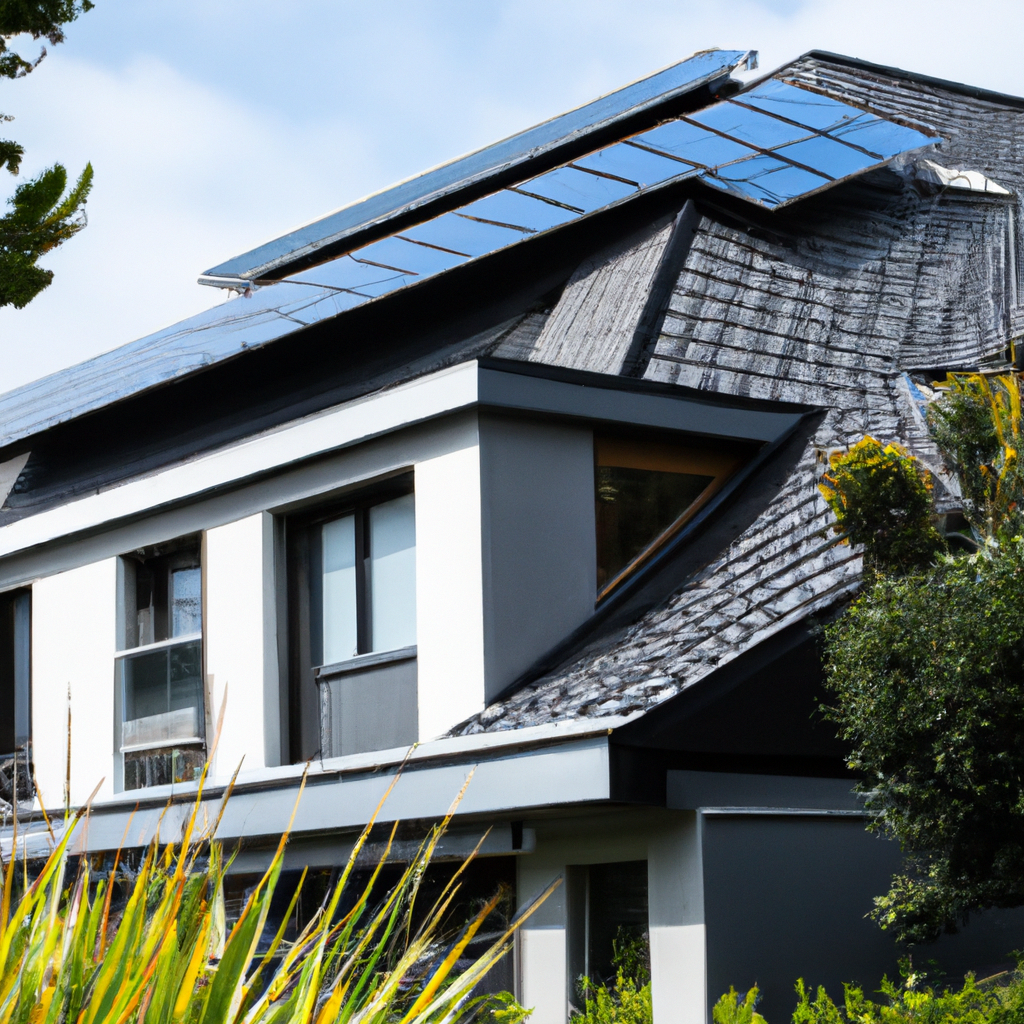
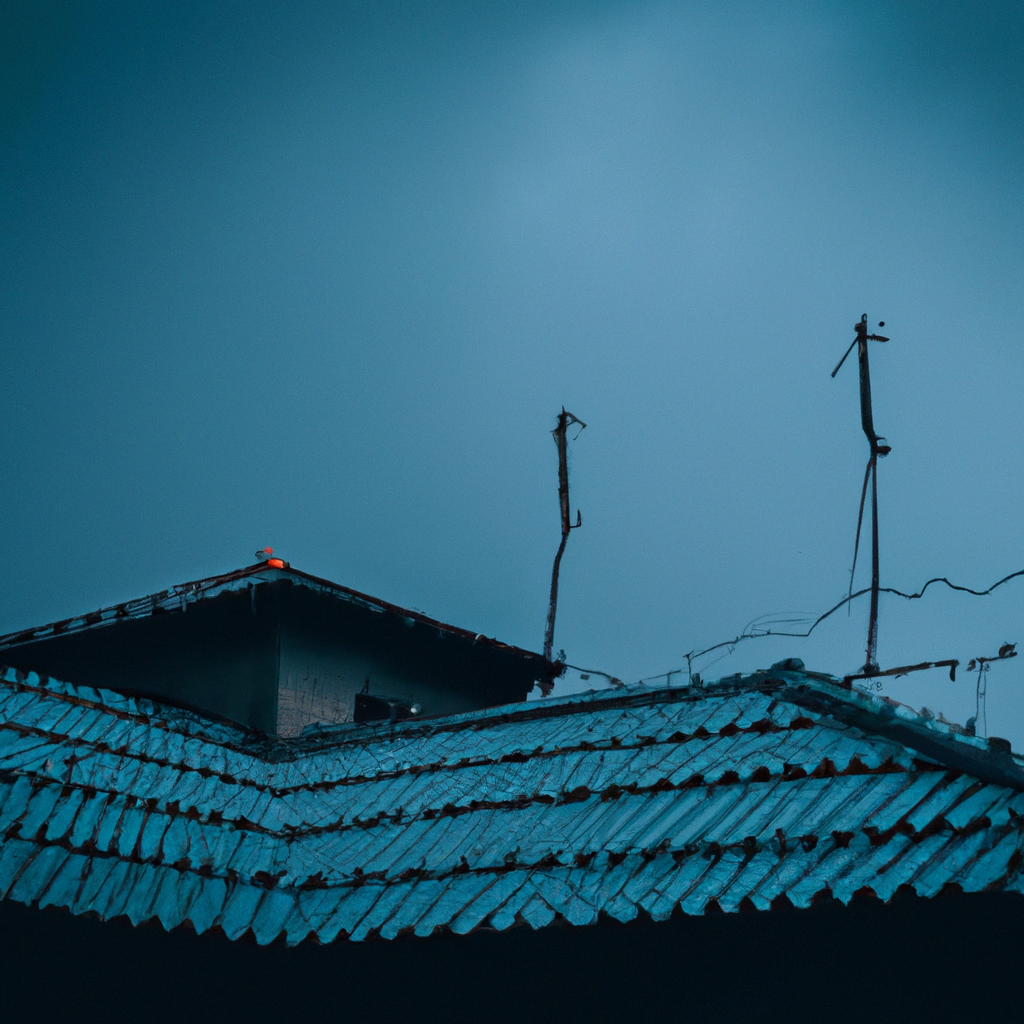
If your roof has electrical components such as solar panels or antennas, ensure you are aware of their locations to avoid accidental contact. Turn off the power supply if necessary and exercise caution when working around electrical equipment.
e. Dress Appropriately
Wear clothing and footwear that provide good traction and protect you from potential injuries. Avoid loose clothing or open-toed shoes that may cause accidents.
4. Working Safely on the Roof
Once you have taken all the necessary safety precautions, it’s time to start working on your roof. Follow these guidelines to ensure you stay safe throughout the repair process:
a. Watch Your Step
Roofs can be slippery, especially when wet or covered in debris. Take slow and deliberate steps, using caution at all times. Avoid walking on fragile areas or damaged sections.
b. Use Proper Ladder Placement
When accessing different areas of your roof, ensure the ladder is securely positioned and at the appropriate angle. Extend the ladder at least three feet above the roof’s edge for stability and easy access.
c. Secure Loose Shingles
If you have identified loose or damaged shingles, use roofing adhesive or sealant to secure them back in place. Be careful not to damage surrounding shingles during the process.
d. Replace Damaged Shingles
For severely damaged or missing shingles, carefully remove them using a pry bar or crowbar. Replace them with new shingles, ensuring they are properly aligned and secured with roofing nails.
e. Address Roof Leaks
If you encounter roof leaks during your repair, it’s essential to address them promptly. Identify the source of the leak and apply roofing cement or adhesive to seal the area. Consider using roofing felt or a patching kit for larger or more complex leaks.
5. Cleaning Up and Final Checks
Once you have completed the necessary repairs, it’s time to clean up and perform final checks to ensure everything is in order:
- Remove any debris from the roof and gutter system to prevent clogs.
- Inspect the repaired areas to ensure they are secure and leak-free.
- Double-check that all tools and materials are properly stored and secured.
Conclusion
In conclusion, DIY roof repairs can be a cost-effective solution for minor issues. However, safety should always be the top priority. By following this essential DIY roof repair safety checklist, you can confidently tackle your roofing project while minimizing the risk of accidents and injuries. Remember to assess the situation, gather the necessary tools, prioritize safety measures, work safely on the roof, and perform final checks. Safeguarding your home starts with a well-maintained and secure roof, and with the right precautions, you can successfully complete your DIY roof repair project.


