Welcome to our comprehensive guide on DIY roof repairs! If you’re a homeowner, you understand the importance of maintaining your roof to ensure the safety and integrity of your home. While hiring professional roofers is always an option, tackling smaller repairs yourself can save you money and provide a sense of accomplishment. In this article, we will provide you with step-by-step safety guidelines to help you successfully complete DIY roof repairs. By following these instructions and taking necessary precautions, you’ll be able to address common roof issues efficiently and effectively.
Section 1: Assessing the Damage
Before you start any DIY roof repair project, it’s crucial to assess the damage accurately. By identifying the problem areas, you can determine the appropriate repair techniques and materials required. Here’s what you need to do:
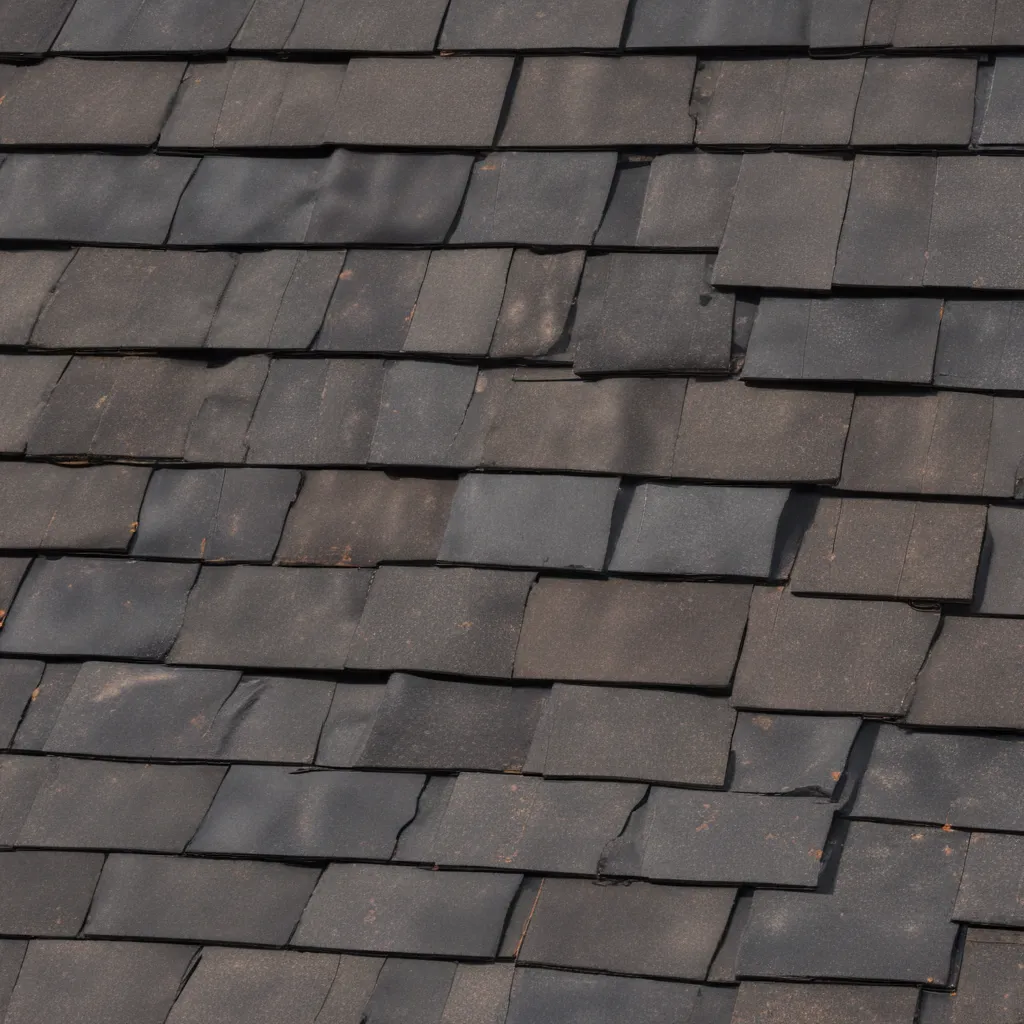
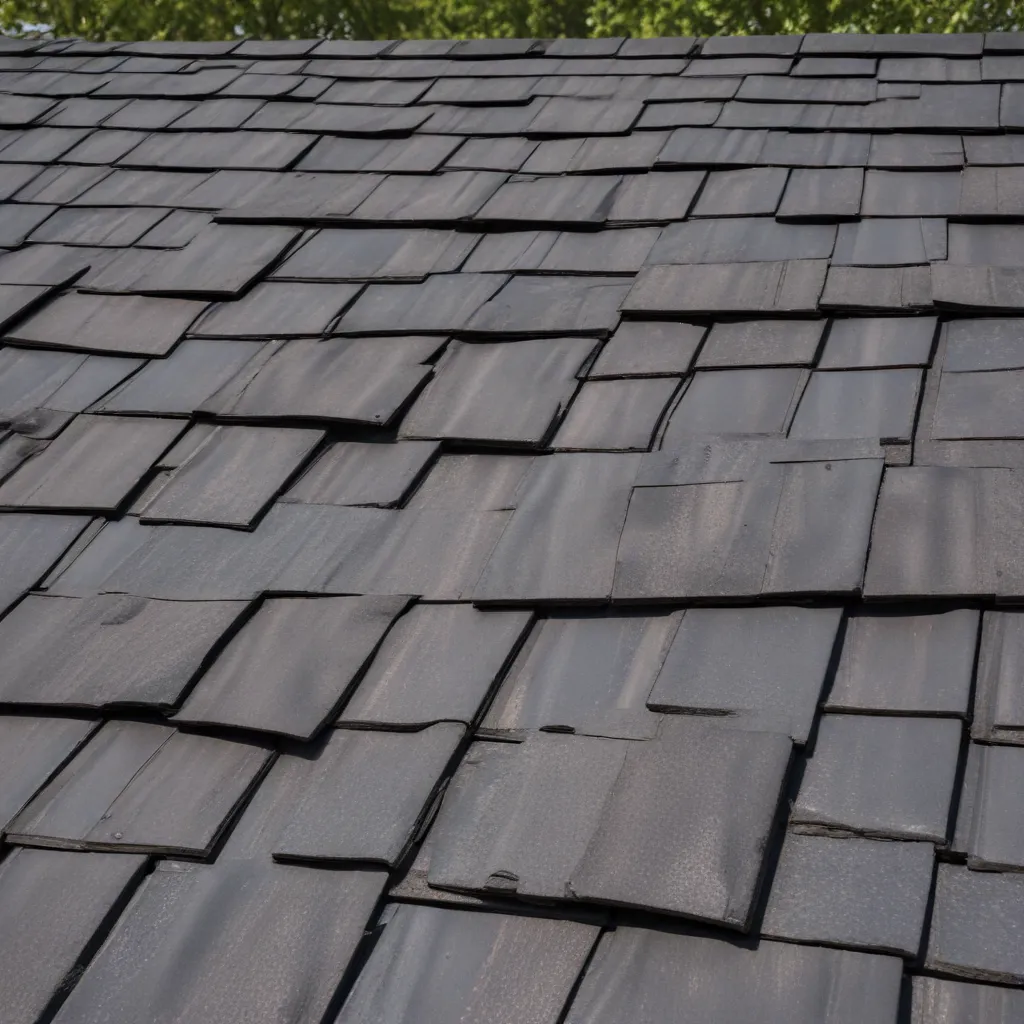
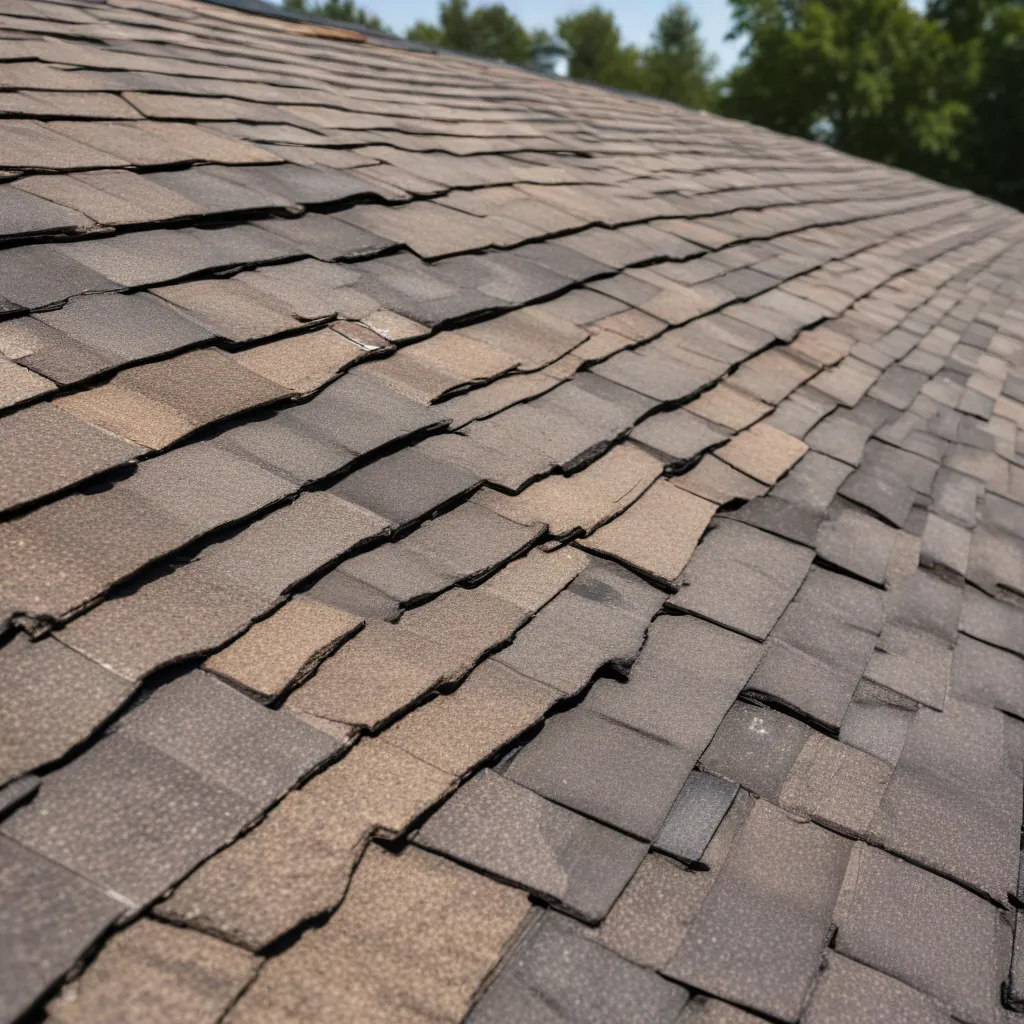
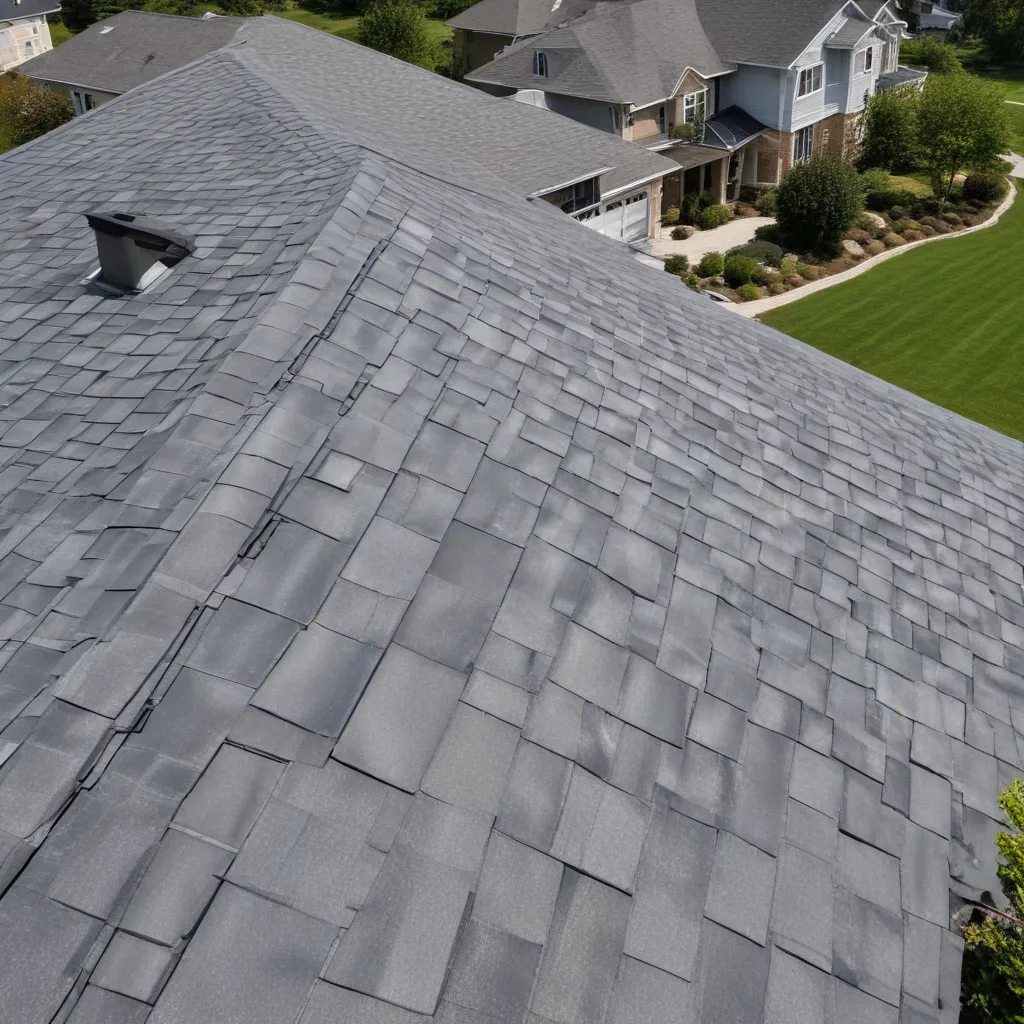
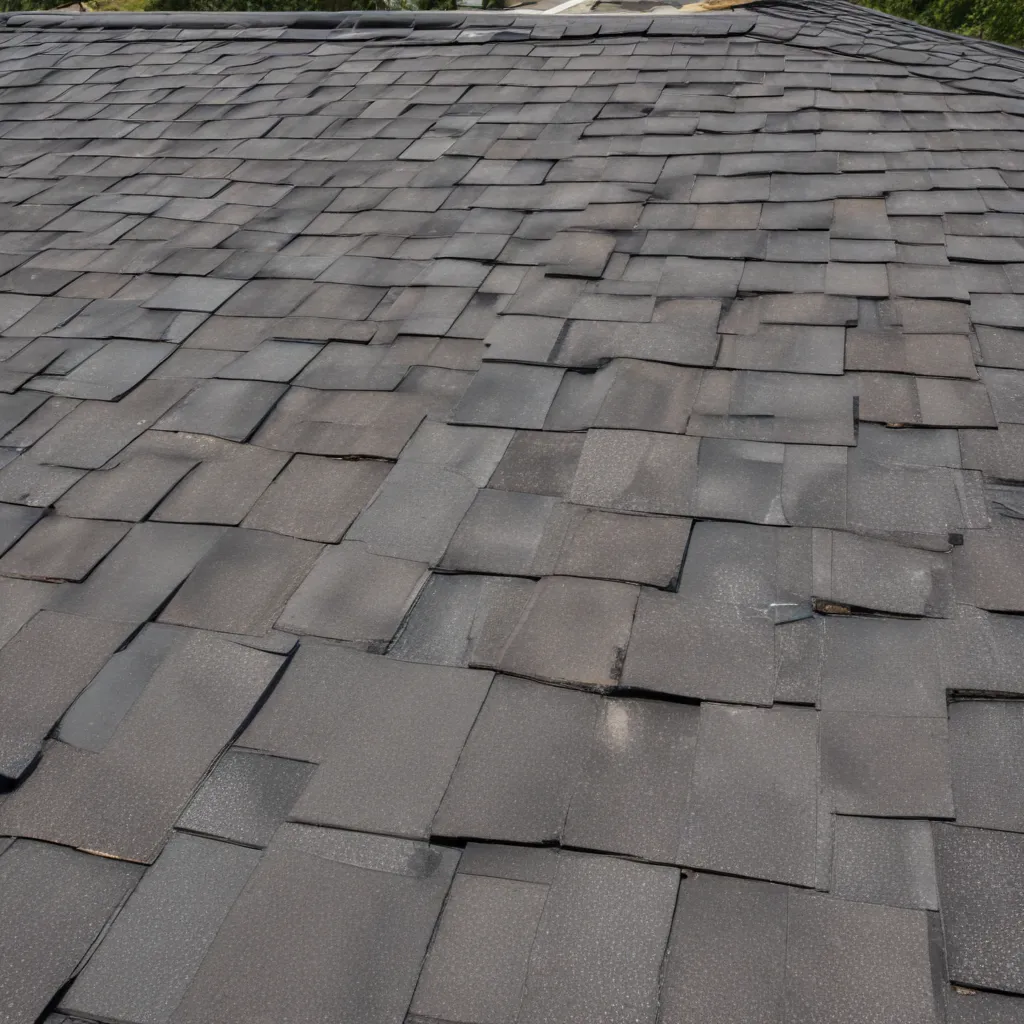
- Inspect the Roof: Begin by conducting a thorough inspection of your roof. Look for missing or damaged shingles, leaks, cracks, or any signs of wear and tear.
- Check the Attic: Head to your attic and examine the underside of the roof. Look for water stains, mold, or any signs of water penetration.
- Document the Damage: Take pictures or make notes of the areas that require repair. This will help you keep track of the issues and assist you in finding appropriate solutions.
Section 2: Safety First
When it comes to any DIY project, safety should be your top priority. Roof repairs can be hazardous, so it’s essential to take necessary precautions to protect yourself. Here’s what you need to keep in mind:
- Use Safety Equipment: Always wear appropriate safety gear, including a hard hat, safety goggles, non-slip shoes, and gloves.
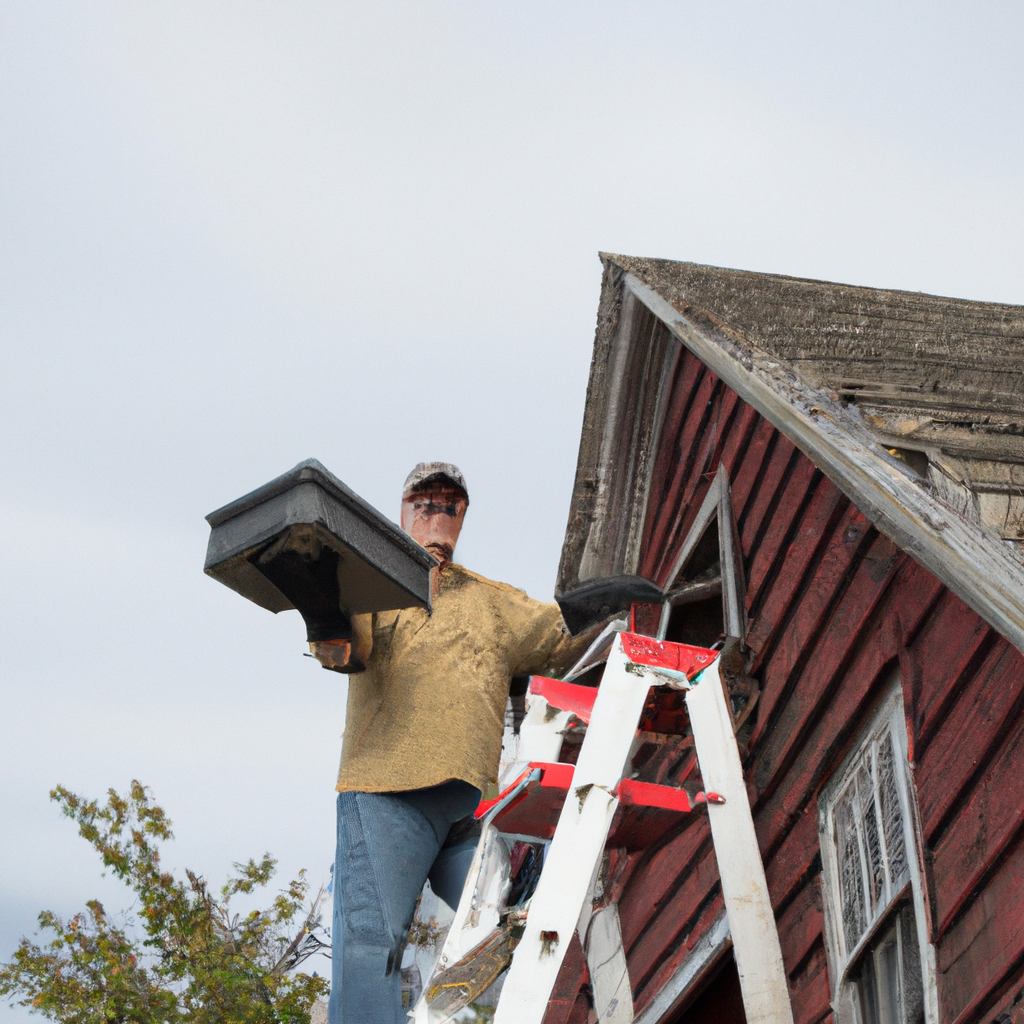
- Secure the Ladder: Ensure your ladder is stable and securely positioned before climbing up. Have someone hold the ladder for added stability, if possible.
- Weather Conditions: Avoid working on the roof during adverse weather conditions, such as strong winds, heavy rain, or extreme heat. Slippery surfaces increase the risk of accidents.
- Fall Protection: If your roof has a steep slope, consider using a safety harness or ropes to prevent falls. Familiarize yourself with how to properly secure and use these safety devices.
Section 3: Common DIY Roof Repairs
Now that you’ve assessed the damage and taken safety precautions, it’s time to address the most common DIY roof repairs. We will outline step-by-step guidelines for each specific repair:
Repairing a Leaky Roof
A leaky roof can cause significant damage if not addressed promptly. Follow these steps to fix the issue:
- Locate the Leak: Start by identifying the source of the leak from inside your home. Trace the water stains or signs of water penetration back to the corresponding area on the roof.
- Remove Damaged Shingles: Carefully lift the damaged shingles using a pry bar or a similar tool. Remove any nails or debris in the process.
- Replace the Shingles: Install new shingles in the same pattern as the existing ones. Ensure they are properly aligned and securely fastened.
- Seal the Shingles: Apply roofing cement under the edges of the new shingles to create a watertight seal.
Fixing Damaged Flashing
Flashing is used to prevent water from seeping into areas where the roof meets vertical surfaces, such as chimneys or vents. Follow these steps to repair damaged flashing:
- Remove Old Flashing: Carefully remove the old flashing using a pry bar or a similar tool. Be cautious not to damage the surrounding roofing material.
- Clean the Area: Thoroughly clean the surface where the new flashing will be installed. Remove any debris or old sealant.
- Install New Flashing: Cut the new flashing to size and position it correctly. Use roofing nails or screws to secure it in place.
- Seal the Edges: Apply a generous amount of roofing sealant around the edges of the flashing to ensure a watertight seal.
Replacing Missing or Damaged Shingles
Over time, shingles may become damaged, dislodged, or go missing. Follow these steps to replace them:
- Remove Nails: Carefully remove any nails holding the damaged shingle in place. Use a pry bar or a similar tool to lift the shingle.
- Slide in the New Shingle: Slide the new shingle into place, ensuring it aligns with the neighboring shingles. Nail it securely using roofing nails.
- Seal the Shingle: Apply roofing cement under the edges of the new shingle to create a secure seal.
Section 4: Additional Tips and Considerations
To ensure the success of your DIY roof repair project, here are a few additional tips and considerations:
- Regular Maintenance: Perform routine inspections and maintenance on your roof to catch any potential issues early on.
- Proper Ventilation: Ensure your roof has adequate ventilation to prevent moisture buildup and potential damage.
- Quality Materials: Use high-quality roofing materials and tools to ensure the longevity of your repairs.
- Know When to Call a Professional: If the damage seems extensive or beyond your skill level, don’t hesitate to contact a professional roofer for assistance.
Conclusion
In conclusion, with the right knowledge, tools, and safety precautions, DIY roof repairs can be both fulfilling and cost-effective. By following the step-by-step guidelines provided in this article, you’ll be able to assess and address common roof issues successfully. Remember to prioritize safety and consult a professional when needed. So, grab your tools, put on your safety gear, and get ready to tackle your next DIY roof repair project with confidence!

